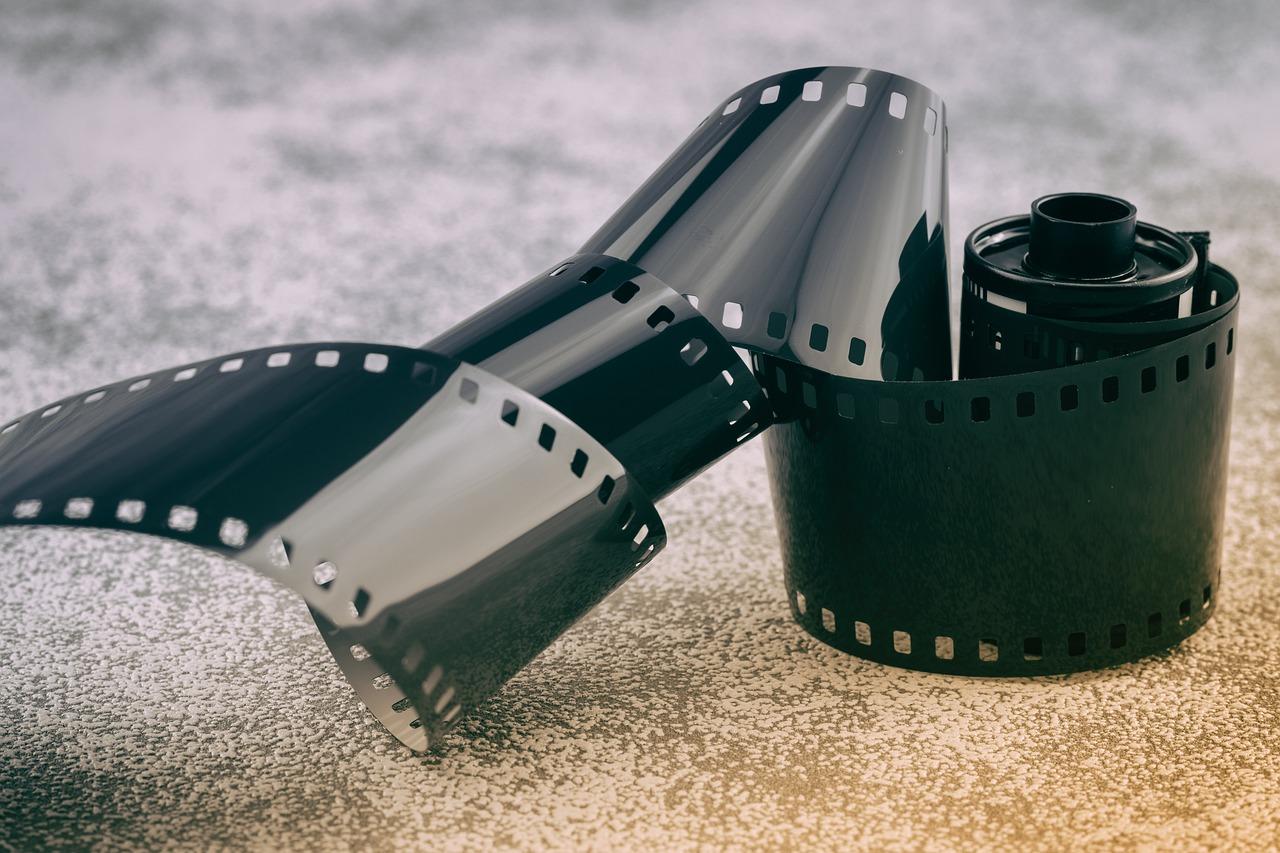
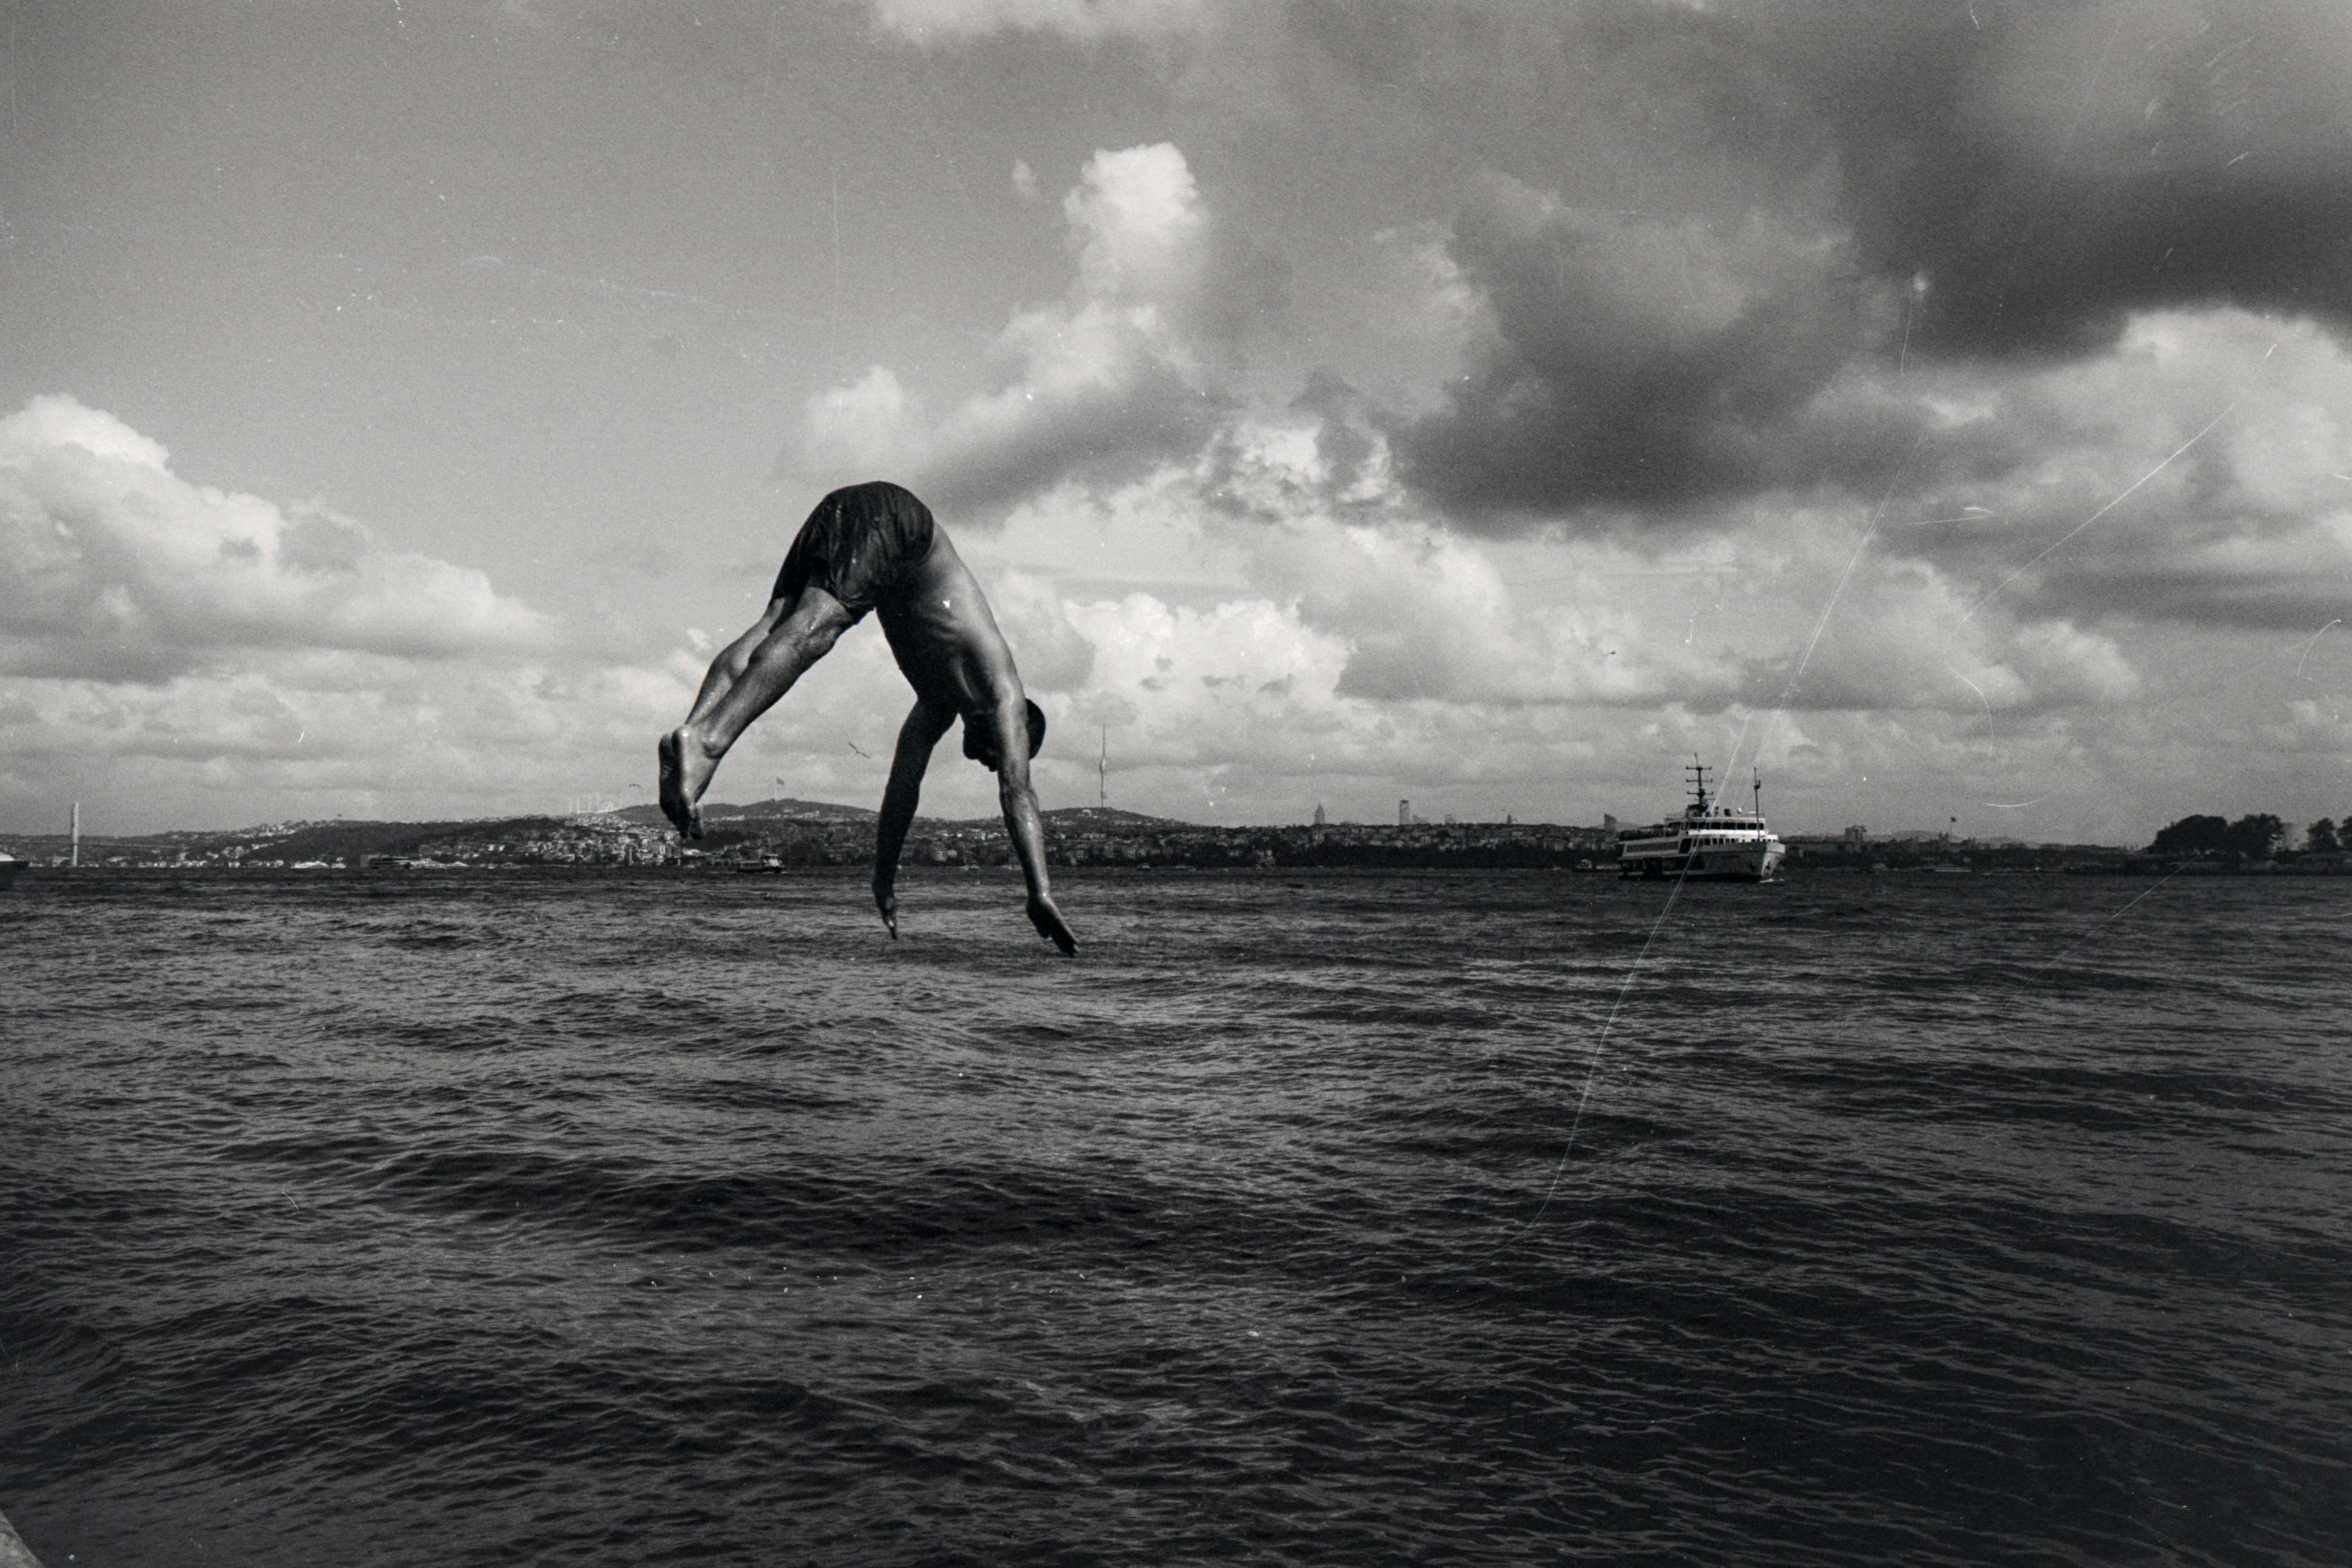
Are you a film photography enthusiast looking to showcase your 35mm shots on Instagram? You’re in the right place! This comprehensive guide will walk you through everything you need to know to get your film photos from camera to Instagram feed. We’ll dive into the nitty-gritty of film scanners, retrieving images from your negatives, and optimizing your uploads for Instagram’s platform. So grab yourself a cup of coffee, and let’s get started!
1. Choosing the Right Film Scanner
To first tackle the process of uploading your 35mm film to Instagram, choosing the right film scanner is crucial. Gone are the days when you’d have to rely solely on the photo lab to digitize your negatives. With a personal film scanner, you have the flexibility to scan at your own pace and within your preferred quality standards.
Types of Film Scanners
When I first delved into scanning my film negatives, I was overwhelmed by the variety of scanners available. Here’s a breakdown of the main types:
-
Flatbed Scanners: These scanners are versatile and can handle a variety of media, including documents and photos. They typically offer good color reproduction and resolution suitable for Instagram.
-
Dedicated Film Scanners: These are designed specifically for negatives and slides. While more expensive, they often deliver superior results with higher resolutions and better detail retention.
-
Photo Scanner Apps: For those on a budget or in a rush, apps like FilmLab or PhotoScanner by Photomyne allow you to use your smartphone to scan your film. They aren’t perfect but can yield decent results with careful handling.
Key Features to Consider
In your scanner, you should look for:
– Resolution: Ideally, go for a scanner with at least 2400 DPI (dots per inch) for best results.
– Color Depth: 48-bit scanners will provide richer colors.
– Dust and Scratch Removal: Features like Digital ICE can save you time, especially if you plan on doing minimal post-processing.
I personally vouch for the Epson Perfection V600. It’s a little on the pricier end but combines versatility and high-quality output exceptionally well.
2. Retrieving Pictures from 35mm Film
Once you’ve decided on a film scanner, the next task is getting those beautiful shots out of the negatives. This process is where your passion for film photography truly blossoms into something shareable. Let’s break it down step by step.
Preparing Your Film
Before starting, ensure your negatives are free of dust and fingerprints. Using an anti-static cloth or blower can help keep your film pristine.
Scanning Your Film
The actual scanning can be a surprisingly fun process. Here’s a simplified step-by-step guide:
- Set Up Your Scanner: Install the necessary software and drivers.
- Arrange Your Film: Place the film in the scanner’s film holder according to the manufacturer’s instructions.
- Select Scan Settings: Choose the archiving format (TIFF for high quality, JPEG for quick sharing), resolution, and color settings.
- Preview and Adjust: Use the preview function to adjust the cropping and exposure if necessary.
- Scan and Save: Hit the scan button, then save your files in a folder dedicated to your session.
Editing Basics
While you could post your raw scans, a little touch-up can significantly enhance their Instagram appeal. Simple adjustments in exposure, contrast, and cropping can make a huge difference. You don’t need to be a Photoshop pro; even tools like Adobe Lightroom or Snapseed can do wonders.
3. Uploading Film Photos to Instagram
Now that you have your digital photos ready, it’s time to get them up on Instagram. The intricacies of this step can make or break your post, ensuring your photos shine in all their analog glory.
Preparing Photos for Instagram
Before uploading, here’s what I’ve found helpful:
– Resolution and Size Optimization: Instagram typically compresses images, so keeping them within the 1080px width can help retain quality.
– Aspect Ratio: Instagram supports 1:1, 4:5, and 16:9 ratios, but for film feel, 4:5 is often preferred.
Step-by-Step Upload Process
- Transfer to Your Smartphone: Use cloud storage apps like Google Drive or Dropbox, or a direct connection like USB for transfers.
- Open Instagram: Go to your profile and tap the plus sign (‘+’) to create a new post.
- Select Photos: Choose your scanned and edited photos from your gallery.
- Apply Filters or Edit: Less is more with film photos, but some subtle adjustments in Instagram can enhance appeal.
- Write a Compelling Caption: Share a backstory or shooting details to engage your audience.
- Add Hashtags and Location: Use relevant hashtags (#35mm, #FilmIsNotDead) to reach wider audiences.
- Post and Engage: Hit ‘Share’ and interact with comments to build a community around your hobby.
4. Posting Film Stills on Instagram: Yes, You Can!
There’s an ongoing conversation in the film community about sharing stills or frames from analog films on Instagram. Let’s put the question to rest—you absolutely can! Sharing stills from movies you’ve shot on film can be a great way to add variety to your feed.
Selecting the Right Film Stills
When selecting stills, it’s crucial to choose frames that resonate well with your audience. Here’s my tip:
– Dramatic Scenes: Go for scenes with strong composition or emotion.
– Color and Light Play: Choose scenes where the film’s grain and color are pronounced.
Transfer and Edit
The process is similar to transferring pictures:
– Digitize Frames: For entire reels, specialized services can digitize your film.
– Edit for Instagram: Give attention to cropping and aspect ratio to fit Instagram’s format well.
5. The Best Aspect Ratio for Instagram Reels
With Instagram Reels growing massively, sharing short, engaging clips from your film photography sessions can offer high visibility. But first, you need to understand the best aspect ratios for Reels.
Aspect Ratios and Quality
Instagram Reels uses a 9:16 full-screen vertical format, ideally suited for smartphones.
– Shooting Tips: If you’re documenting your film photography process, remember that reels are meant to be engaging and quick-paced.
– Editing for Impact: Keep your clips concise but impactful. Tools like InShot or Splice can help you polish your film clips.
6. Troubleshooting Scanning Issues
Scanning 35mm film is often not without its challenges. Fixing some common problems can save hours of frustration and lead to better results.
Common Problems and Solutions
- Color Shift: If your scans look too green or magenta, calibration software or manual adjustment in editing software can help.
- Dust and Scratches: Update scanner software and employ a dust blower to mitigate these.
- Blurring or Pixelation: Ensure your film is held firmly in the scanner’s holder and saved at the correct resolution.
Personal Exercise
I remember once ending with a nearly pink scanning session. After a short breakdown, I tweaked the RGB curves in Photoshop to restore the balance. It taught me the importance of patience and the magic of post-processing.
7. Legal and Copyright Concerns
Legalities can seem daunting, but being informed is better than bliss in ignorance. Ensure you have the right permissions when uploading certain film stills to avoid potential backlash.
What You Need to Know
- Personal Photography: Sharing your own work is usually straightforward, but be cautious with recognizable individuals’ faces.
- Derived Works: Posting stills from commercial films requires proper licensing; otherwise, it’s a breach of copyright.
My Take
I’ve always ensured to stick to sharing my original work. This keeps any legal complications at bay and allows my feed to tell my own authentic journey.
8. Engaging Your Audience on Instagram
Posting your film photos is just one part of the puzzle. True engagement comes from building relationships with your audience and film community.
Community Building
- Respond to Comments: Engage with each comment on your posts.
- Attend Meet-ups and Events: Networking extends beyond online engagements.
- Collaborations: Partner with other photographers or brands for cross-promotions.
My Experience
Instagram opened doors for me to connect with film photographers worldwide. Participating in photo challenges and tagging larger accounts accelerated my growth significantly.
9. Frequently Asked Questions
Can I post black-and-white film photos on Instagram?
Absolutely! Black-and-white photos carry a unique charm and often perform well on any social media platform.
Is scanning film more expensive than lab development?
It depends. Investing in a scanner might seem costly initially but saves you money in the long run with regular use.
10. Summary & My Closing Thoughts
We’ve navigated the entire journey from choosing the right gear to engaging your community on Instagram. Embracing film photography goes beyond just the visual aspect. It’s about sharing stories and connecting with a global audience that appreciates the nuances film brings.
Final Tips and Encouragement
Don’t fret if things don’t go perfectly. Every hiccup is an opportunity to learn. Sharing those less-than-ideal shots can also add character to your profile, showing the world the rough and perfect side of film.
Remember, the world is your canvas. Keep capturing, keep sharing!

